Deck-Orating an Older Pocket Cruiser
by Craig E. Anderson
Four years ago, we purchased a 1972 Westerly Warwick designed by Laurent Giles. Our “new” boat, though fundamentally sound, was in need of some refurbishment. Among the things needing attention was her deck; the old gray nonskid was showing the effects of age and weather. Repainting was clearly the easiest solution. We opted for another alternative, however, and have not been disappointed with the results.
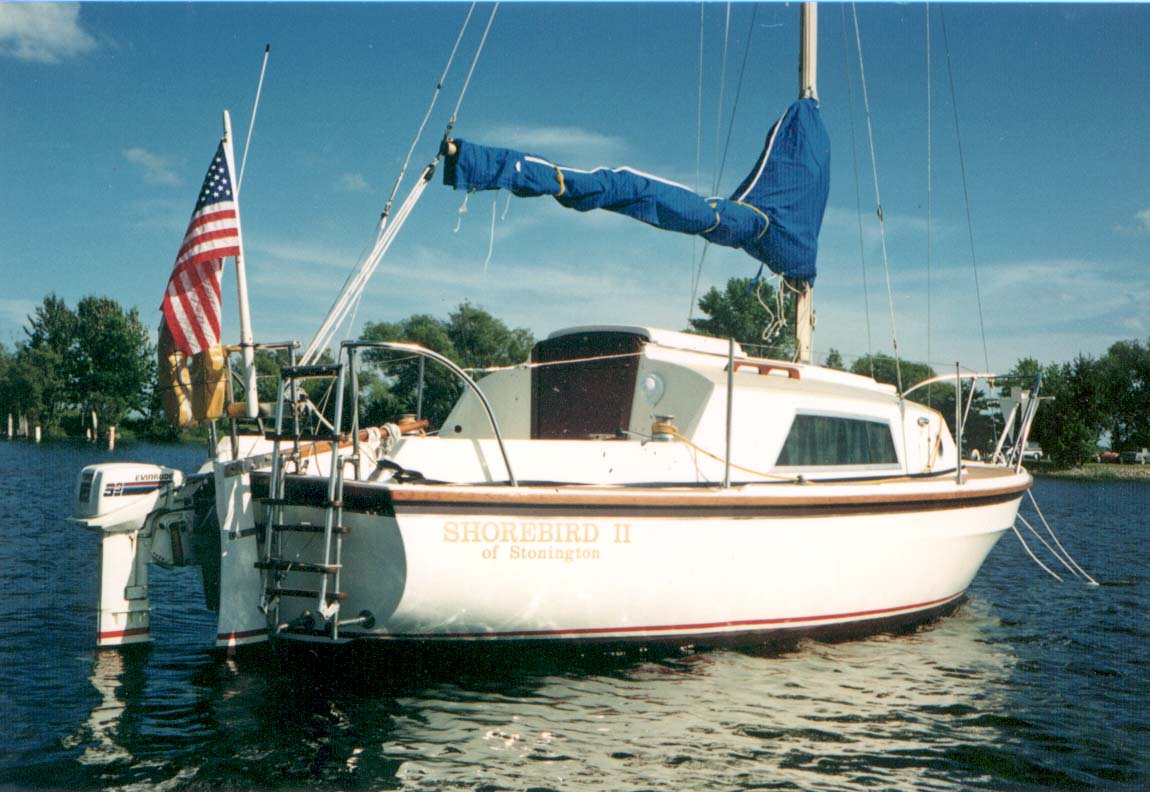
|
| ShoreBird II of Stonington on its mooring in Escanaba, MI. |
We resurfaced the nonskid portion of the deck with a material overlay. We chose a product called Treadmaster M (Original), a highly durable and effective raised diamond-patterned, cork polymer nonskid material. It is a long-lasting, maintenance-free coating with superb nonskid qualities. The product is 1/8” thick, is sold in sheets that measure 47.5” x 35.5”, and available in either white sand, gray or teak colors. Although relatively expensive, we were able to purchase the four sheets we needed at a significant savings through a mail order marine catalog. We also obtained a
two-part epoxy marine adhesive designed for use with Treadmaster. Our total material costs came to about $300.
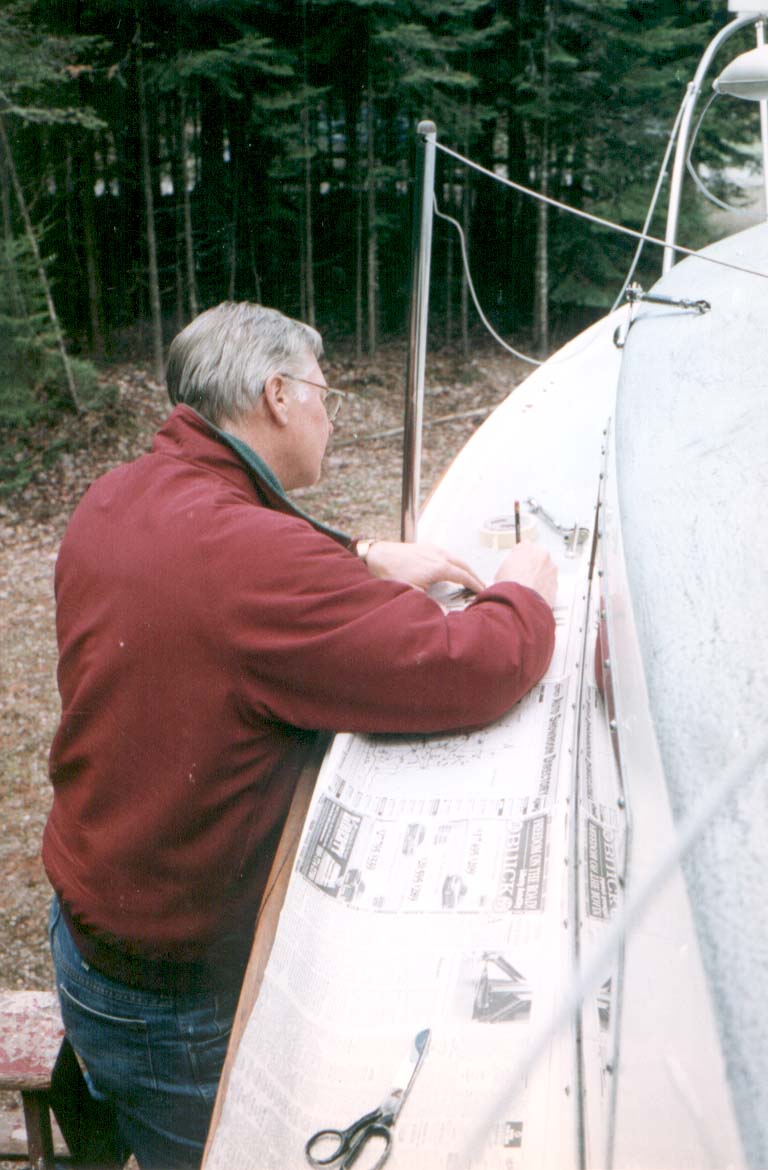 |
 |
| Bart Anderson, the author’s brother, tracing patterns for the nonskid. | Fitting the patterns to the nonskid. |
The process of preparation and application was time consuming and somewhat tedious. The job took two of us about 15 hours not including drying time, although rain, cold weather and other responsibilities extended the actual project time. The epoxy adhesive must be applied at temperatures not below 15.5 degrees C (60 degrees F) to obtain the desired adhesion. As with painting or fiberglass repair, the preparation is very important and must be done carefully.
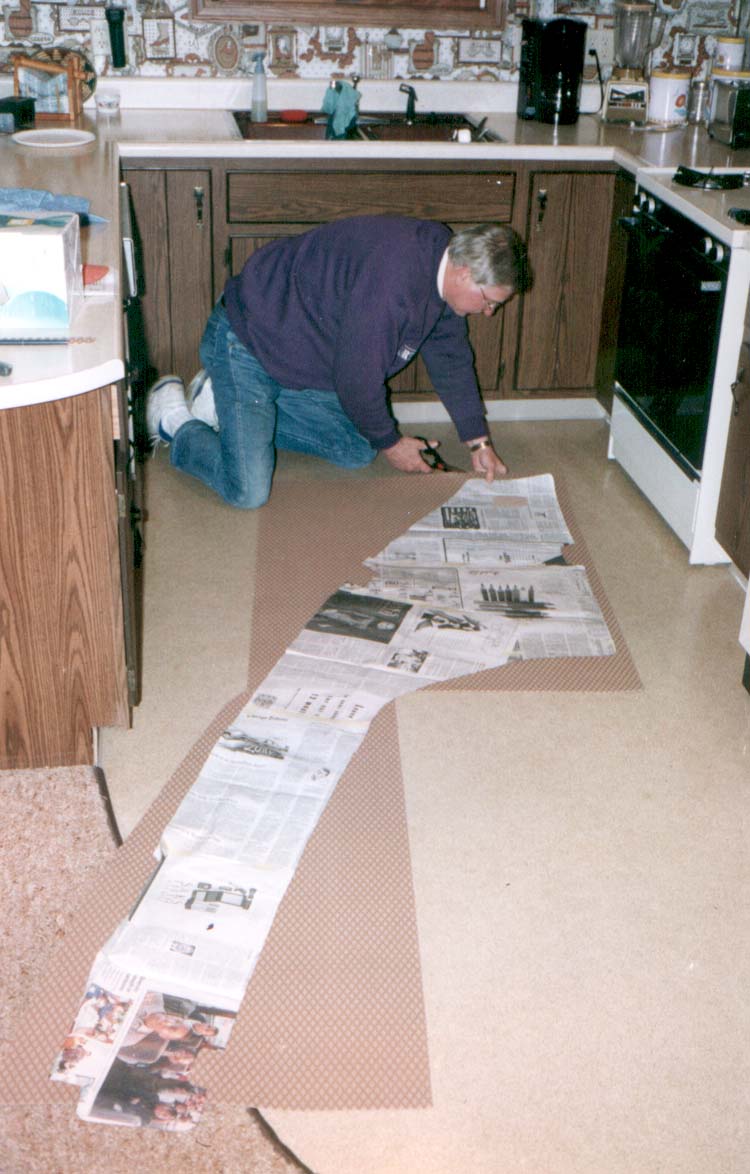
 |
| Checking patterns to be sure they properly fit. |
We began with a thorough cleaning of the deck surface with trisodium phosphate (TSP) and water followed by a boat cleaner until the accumulated dirt and grime were removed. This was followed by a sanding of the old nonskid surface with 180-grit paper. The sanding proved somewhat problematic - the old nonskid surface had a rubber-like quality to it which quickly clogged up our sandpaper. After giving it our best effort, we thoroughly brushed clean the surface. Then, to be sure we removed all the leavings and dust, we washed it again with TSP and water, and, after drying, wiped it down with a tack cloth.
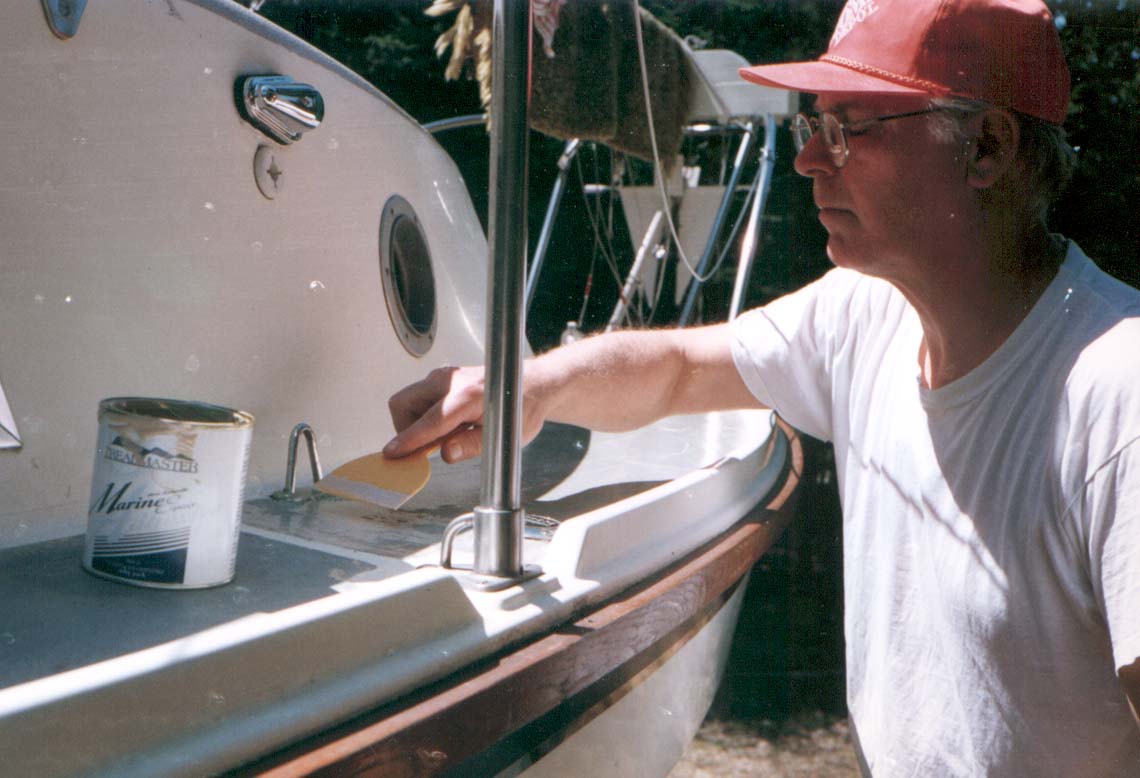 |
| Applying the 2-part epoxy adhesive to the deck. |
Making the patterns to use for cutting the nonskid was the next step. We used newspaper, although a slightly heavier brown Kraft paper or butcher paper might have been better. Tracing the outline of the old nonskid was relatively easy since it was still slightly raised from the rest of the deck. Keeping the paper stationary while tracing the outline is crucial. A good method is to cut out one or two 3”-4” holes in the pattern paper. This enables you to affix the paper to the deck with masking tape without having to tape the edges. We did not discover this suggestion until the job was completed, but we think it is a capital idea.
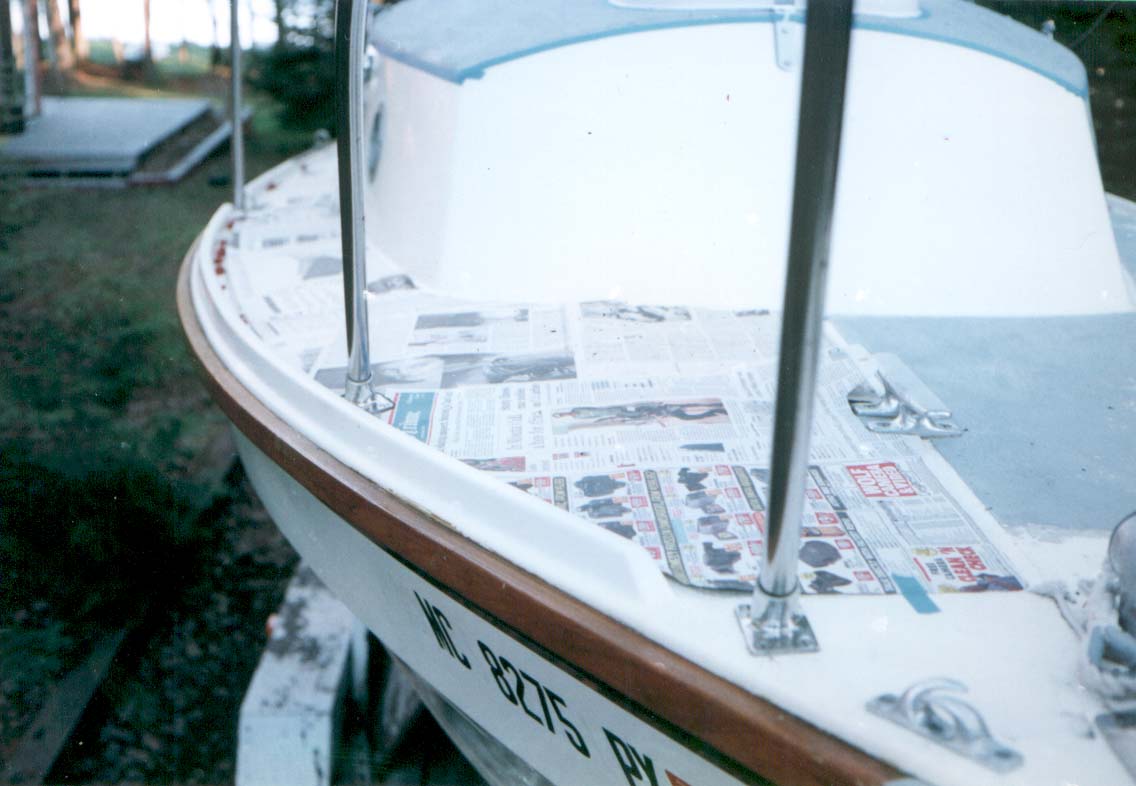
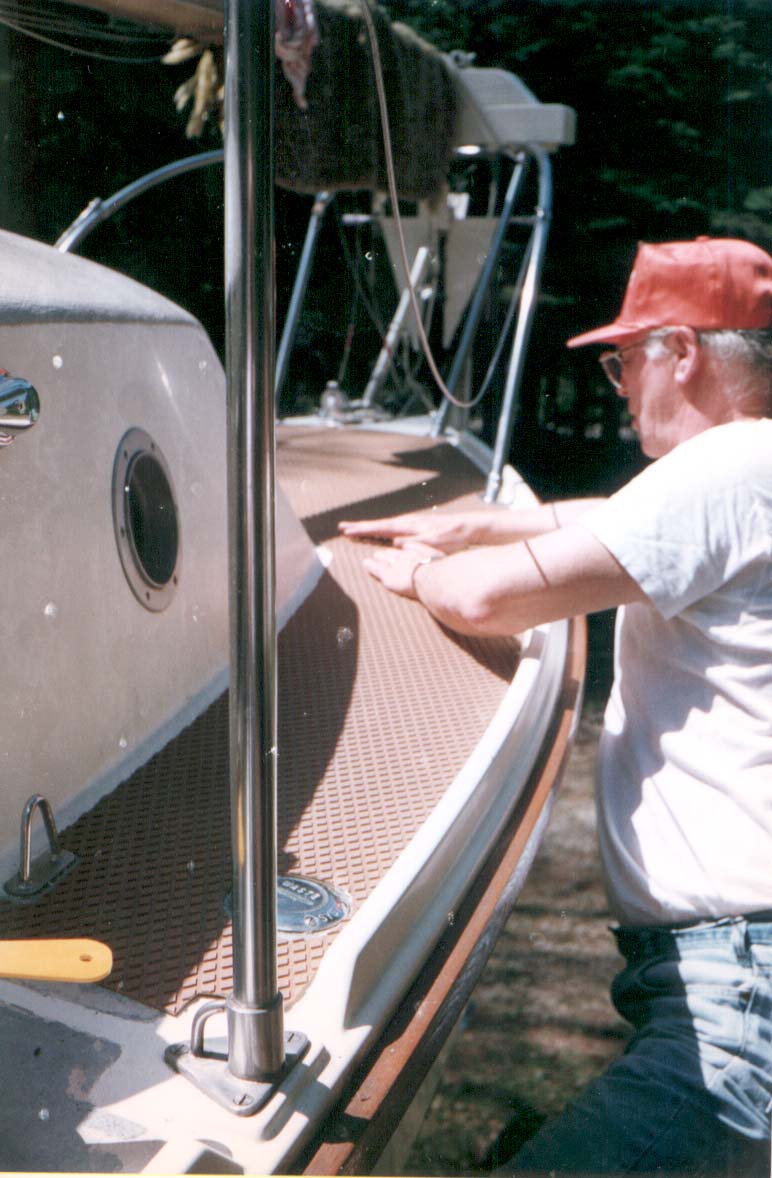 |
| Bart Anderson, the author’s brother, laying the nonskid to the deck surface. |
After delineating the patterns, we cut them out and laid them on the deck to be sure they were correct. It’s important to mark the patterns “top” and “bottom” and “forward” and “aft” to prevent confusion later. Separate patterns must be made for each section of deck to be covered. One cannot assume that each side mirrors the other and that simply reversing a pattern from port to starboard sides will work. We found it does not.
Once our patterns were cut and dry-fit, we taped them to the wrong side (smooth side) of the nonskid stock and carefully cut the material with a sharp scissors. Although the manufacturer does not advise butting up two pieces of the nonskid material, we felt we had to in several places given the configurations of the deck and previous nonskid areas. We were meticulous, however, in making sure that where two pieces of Treadmaster met, the diamond pattern was matched up perfectly. As the pieces were cut, we laid them out on the deck to insure that we had a proper fit.
The final step was to fasten the material to the deck using the two-part epoxy glue. After a vacuuming and final dusting of the deck with tackcloth, we were ready to begin. Since the pot life of the epoxy is only about 30 minutes, we laid only a section or two of the nonskid at a time. The epoxy was spread with an applicator (inexpensive plastic putty knives) on both the deck surface and the backside of the nonskid, being careful to cover both thoroughly. The nonskid was then placed on the deck, adjusted until correctly positioned (it moves easily before the epoxy sets), and then pressed down firmly to eliminate any air pockets. A rubber roller might be helpful in this, although we did not find one necessary. Excess epoxy that squeezes out the sides must be wiped away with a rag or it will leave a stain on the fiberglass.
The final result has been very satisfying. Not only has the appearance of our Westerly Warwick been aesthetically enhanced by the new teak-colored nonskid, but we have a surface that gives exceptional traction. Moving about on deck of a pocket cruiser can be a challenge in heavy seas and rough weather, and it is reassuring now to have a superior nonskid. If there is a downside, it is that this nonskid is a little hard on bare knees or feet, but that was something we knew before we began. It is a small tradeoff in our opinion for the improved appearance and security.
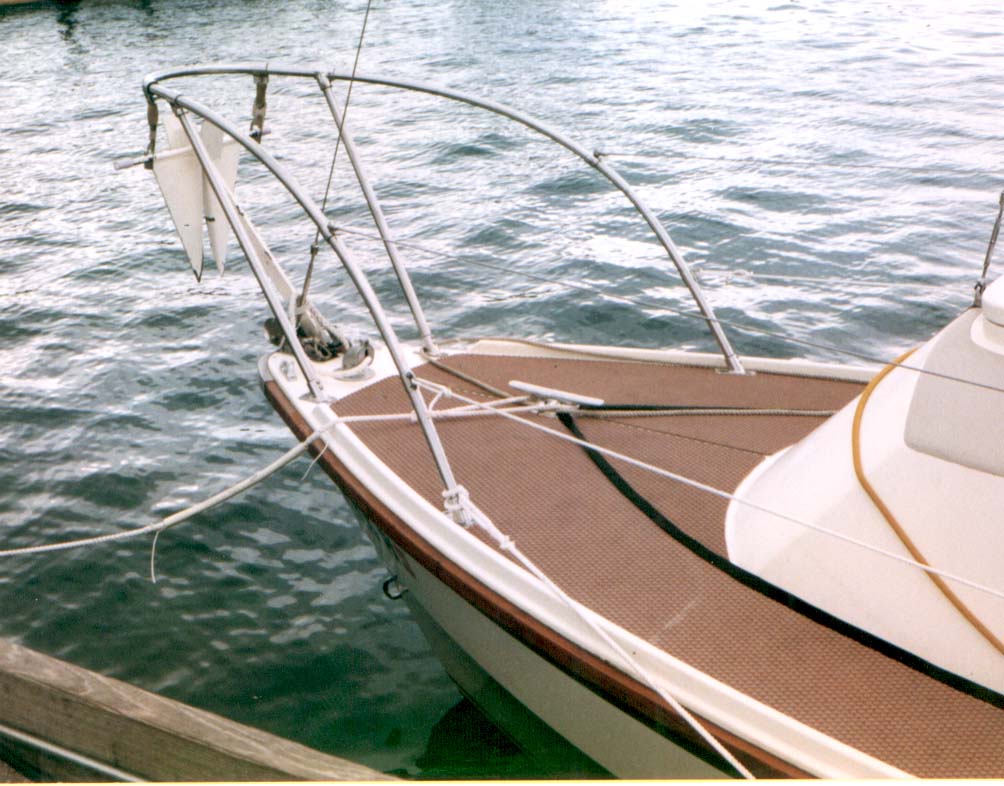 |
| The finished job! |
Craig E. Anderson resides in Chicago, IL, and sails his Westerly Warwick, ShoreBird II of Stonington, on Lake Michigan. He and a
friend edit and publish twin-Keeler, a newsletter for owners and admirers of twin-keeled sailing craft.